Whether you’re embarking on a high-stakes business trip or gallivanting around Tuscany on a care-free summer getaway, you need to look your wrinkle-free best.
So in this post, we’re covering how to fold a shirt for travel. For a sophisticated, style-conscious globetrotter like yourself, this origami-like art form is a crucial suitcase-packing skill.
Not only will the proper shirt-folding technique make your garments look pristine straight out of the suitcase, but you’ll also get to squeeze more clothes into a limited space.
Here’s everything you need to know about folding clothes for travel.
Shirt packing techniques
Before you start strategically stuffing shirts into your suitcase, it’s smart to determine your preferred modus operandi. There are four main methods for dress shirt packing, each with distinct advantages and drawbacks.
Folding
The most common travel-packing method, folding involves doubling over your shirt into a neat, even shape. While it’s effective at minimising wrinkles, it won’t save you much time or space.
Rolling
This Marie Kondo inspired technique sees you roll your clothes over into a neat cylindrical shape, much like you’d pack up a rug. Rolling saves tonnes of space, making it the method of choice when you’re packing stacks of similar-sized shirts.
Bundling
If you’re travelling with a mini wardrobe full of delicate, different-sized clothes, you may want to give bundling a go. Although this shirt folding trick is hard to master, it saves lots of space and will leave minimal creases in your prized dress shirts.
Vacuum packing
Vacuum packing is a viable option for the serious space-savers out there. While it’s time-consuming and requires special equipment, you can fit loads of irregular-sized clothes into a small suitcase.

How to fold a shirt for travel
Wondering how to fold a dress shirt? Follow these step-by-step instructions to master the method.
-
Do up the buttons. To avoid creating developing creases in transit, button up your shirt first (ignore this step if you’re folding a buttonless tee). Don’t succumb to lazy temptation by skipping a few buttons. Doing them all up takes a couple of seconds and will yield far better results.
- Flip the shirt over. Lay the shirt down on a clean, flat surface with the back facing towards you. Ensure the shirt is spread out evenly.
- Fold the sleeves diagonally. Place your finger on the neckline by the collar, then fold a sleeve diagonally until it reaches the centre of your shirt. Aim to have about one-third of the front folded over the back. Repeat the process with the other sleeve.
- Fold the sleeves back up again. Place a finger on one shoulder, then grab the cuff of its sleeve. Fold the cuff back up again in a diagonal pattern to align with the shoulder on the same sleeve. Repeat the process for the second sleeve, aiming for a lovely flat V-shaped pattern.
- Fold the length of your shirt. Using two hands, grab the tail end of your shirt and fold it up to the collar. If you’re folding a long dress shirt, aim for two folds (fold it in thirds). One fold (fold it in half) will do for shorter shirts.
- Flip, smooth and stow. Flip your shirt back over so it’s button-side up. Smooth out any creases and stow the garment carefully in your suitcase.

Pros and cons of folding shirts for travel
You now know how to fold a shirt for travel. But is this really the best shirt folding hack for you? Consider the following pros and cons.
Pros
- Greatly reduce crinkles
- Easy to execute
- Good for delicate fabrics that crinkle easily
Cons
- Doesn't save much space
- Can create creases on the fold lines
- You can’t see all your clothes instantly (you’ll need to rummage through your suitcase to find the right shirt)
How to roll clothes for packing
Not too convinced with the folding method? Here’s how to roll your shirts like a pro.
- Find a flat surface. Seek out somewhere smooth and clean. Do up the buttons, then lay your shirt out flat, with the back facing towards you.
- Fold the shirt in half vertically. Place your finger on the left sleeve and fold the right sleeve over until the two cuffs touch. You’ll now have a vertically folded shirt with the front facing towards you.
- Fold down the sleeves. Fold both sleeves down the body of the shirt, aligning the edge of the sleeve with the existing fold-line.
- Roll it up. Starting from the bottom, gently roll the shirt upwards until it reaches the collar. Your neat little cylinder is now ready to pack away.

Pros and cons of rolling clothes for travel
Is rolling a better fit for your style? Consider the following pros and cons.
Pros
- Fast and easy to execute
- Saves a lot of space in your suitcase (great when packing carry-on luggage)
- You can instantly find items in your pack (no more rummaging)
- Works for shirts, trousers, jumpers, and other garment types
Cons
- Leaves more crinkles than folding
- Not great for delicate, easy-to-crinkle shirts
- Doesn’t work well with thick garments
Carl Friedrik luggage
While a fine-tuned travel-packing technique will keep your prized shirts looking ever-so-smooth, it also helps to have the right luggage on hand.
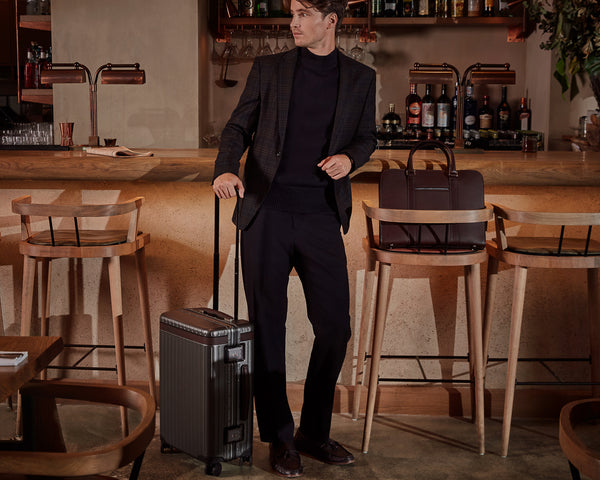
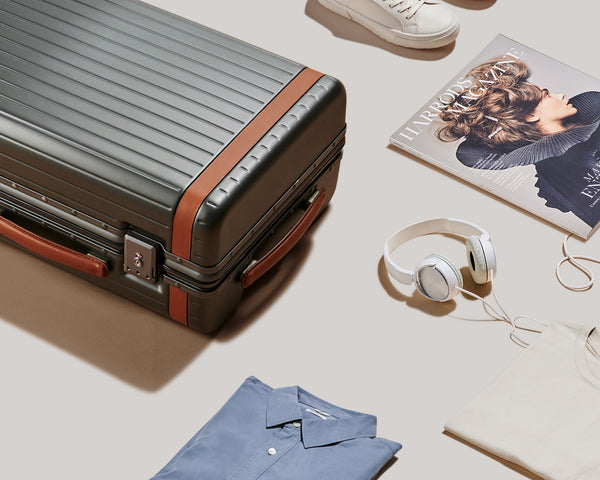
Carl Friedrik’s hard-side suitcases come in a tough polycarbonate shell to protect your clothes (and other items) from the rigours of the road.
And to help you fit more in, we include one removable compression pad and two flexible compression straps with every suitcase. These handy space-saving extras help by compressing your load, which ensures your dress shirts remain crinkle-free.
Whether you’re after a sizeable check-in suitcase or a nimble carry-on, you’ll find the perfect travel companion in our luggage collection.
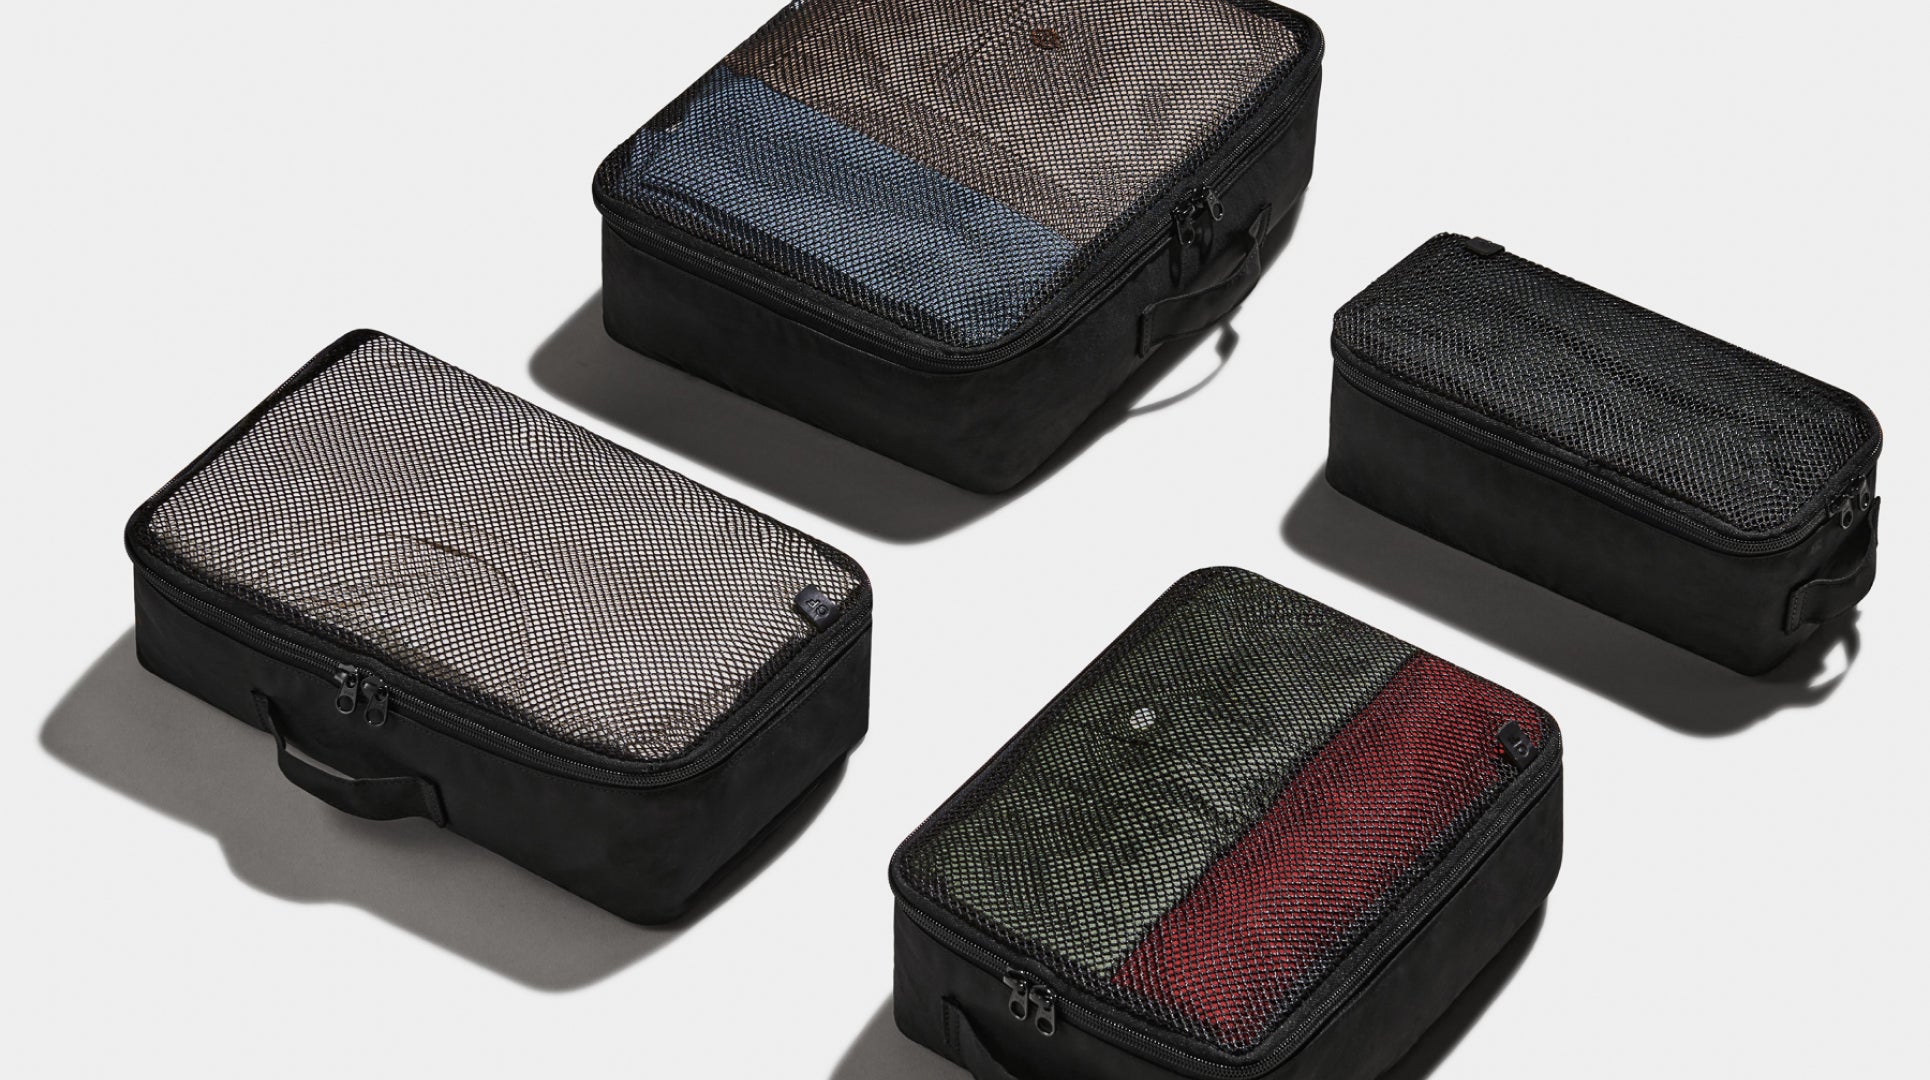
Keen to add a compression pad to your existing suitcase? We also offer a range of useful luggage accessories.

How to remove wrinkles from clothes without an iron
Whether you’re a roller or a folder, even the most skilfully-packed dress shirt can crinkle while in transit.
And while most hotels offer an iron as an in-room amenity, sometimes you won’t have access to this essential device. But don’t worry. We’ve put together some nifty hacks you can use to flatten the imperfections away.
An easy method starts by ensuring all bathroom doors and windows are closed, then hang your dress shirt on the door and treat yourself to a lengthy shower.
If that didn’t achieve the desired result (or you don’t want to get your hair wet), you could try using a blow dryer instead. Set it on high and zap the troublesome crinkles until they’re flat, holding the exhaust about two inches away to avoid charring the cloth.
Should you struggle to de-crinkle your collar, you could try using a hair straightener as a makeshift flatiron. Remember to wipe the plates clean before use and be careful not to scorch the fabric by getting overzealous with the settings.
And finally, for our loyal British readers, you can de-crinkle a shirt by preparing a nice cup of tea. Fire up the kettle and position the spout about 12 inches from the problem spot. Once the crinkles have withered away, it’s time to get stuck into your piping hot Earl Grey.
Takeaway
So what’s the best way to fold a dress shirt for travel: folding or rolling?
Both shirt-packing styles have their pros and cons. As a result, the answer boils down to what works best for you.
If getting rid of crinkles is your number one concern, follow our step-by-step dress shirt folding guide. But if you’re more excited about saving time and suitcase space, consider giving rolling a shot.
And remember: there’s no obligation to pick and stick to one side. Feel free to fold your more delicate shirts and roll your casual tees.
